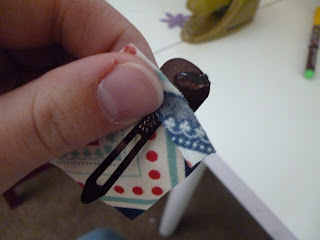
Guess What?! I finally made up how to make something without copying someone else! The other day I was making a hair tie and I was turning two pieces inside out and I thought of something. You could make a hair clip using this method. So i tried it and it worked! Here's the tutorial:
Put the two pieces wrong sides together and sew it together.
Only sew one side closed.
Leave a 1/4 in. seam allowance.
Hold the closed end like this so the sewed edges are held together.
Push a pencil down in the fabric. This is why you had to hold it that weird way.
Push it down as long as you want your hair clip to be. I did mine about two inches. You can do it more or less.
Bunch the fabric onto the fabric until it's all bunched on. Don't do it too bulky or else it will not go through your sewing machine. You may have to cut off some fabric.
Pull the fabric off the pencil. Be sure not to let it unravel.
Sew down both long sides of the bunched fabric. You may have to use a walking foot.
This is what it should look like after you have clipped the threads.
Cut a piece of fabric about the size of the back of your clip.
Cut a little slit just large enough for the skinny part of the barette to fit through.


No comments:
Post a Comment